Welcoming a new generation of Hollander beater builders...
Building a Hollander Beater isn't the easiest task in the world, but with a little research, planning and access to tools, it is totally possible.
Tallers Soteras in Capellades, Catalonia is one of the last commecially viable rag-pulping Hollander builders left in the world. As a result, for those on a small budget, it might be eaiser to try building your own Hollander, than to purchase one. Hopefully this page will help inspire a new generation of Hollander beater makers!
As part of Drew Matott's residency at the Generator in Burlington, Vermont, Matott built a Hollander out of materials sourced from local hardware and farm supply stores.
One of the goals was to keep the cost of constructing the machine below $1000, however it came close to $1500 (2019).
DIY Hollander Cost Breakdown:
$1000 roll & bedplate fabrication
$50 Used Bathtub
$250 Hardware (carriage bolts, gasket materials, springs, washers, lags, PVC decking, screws, etc...)
$250 1/2 HP Motor
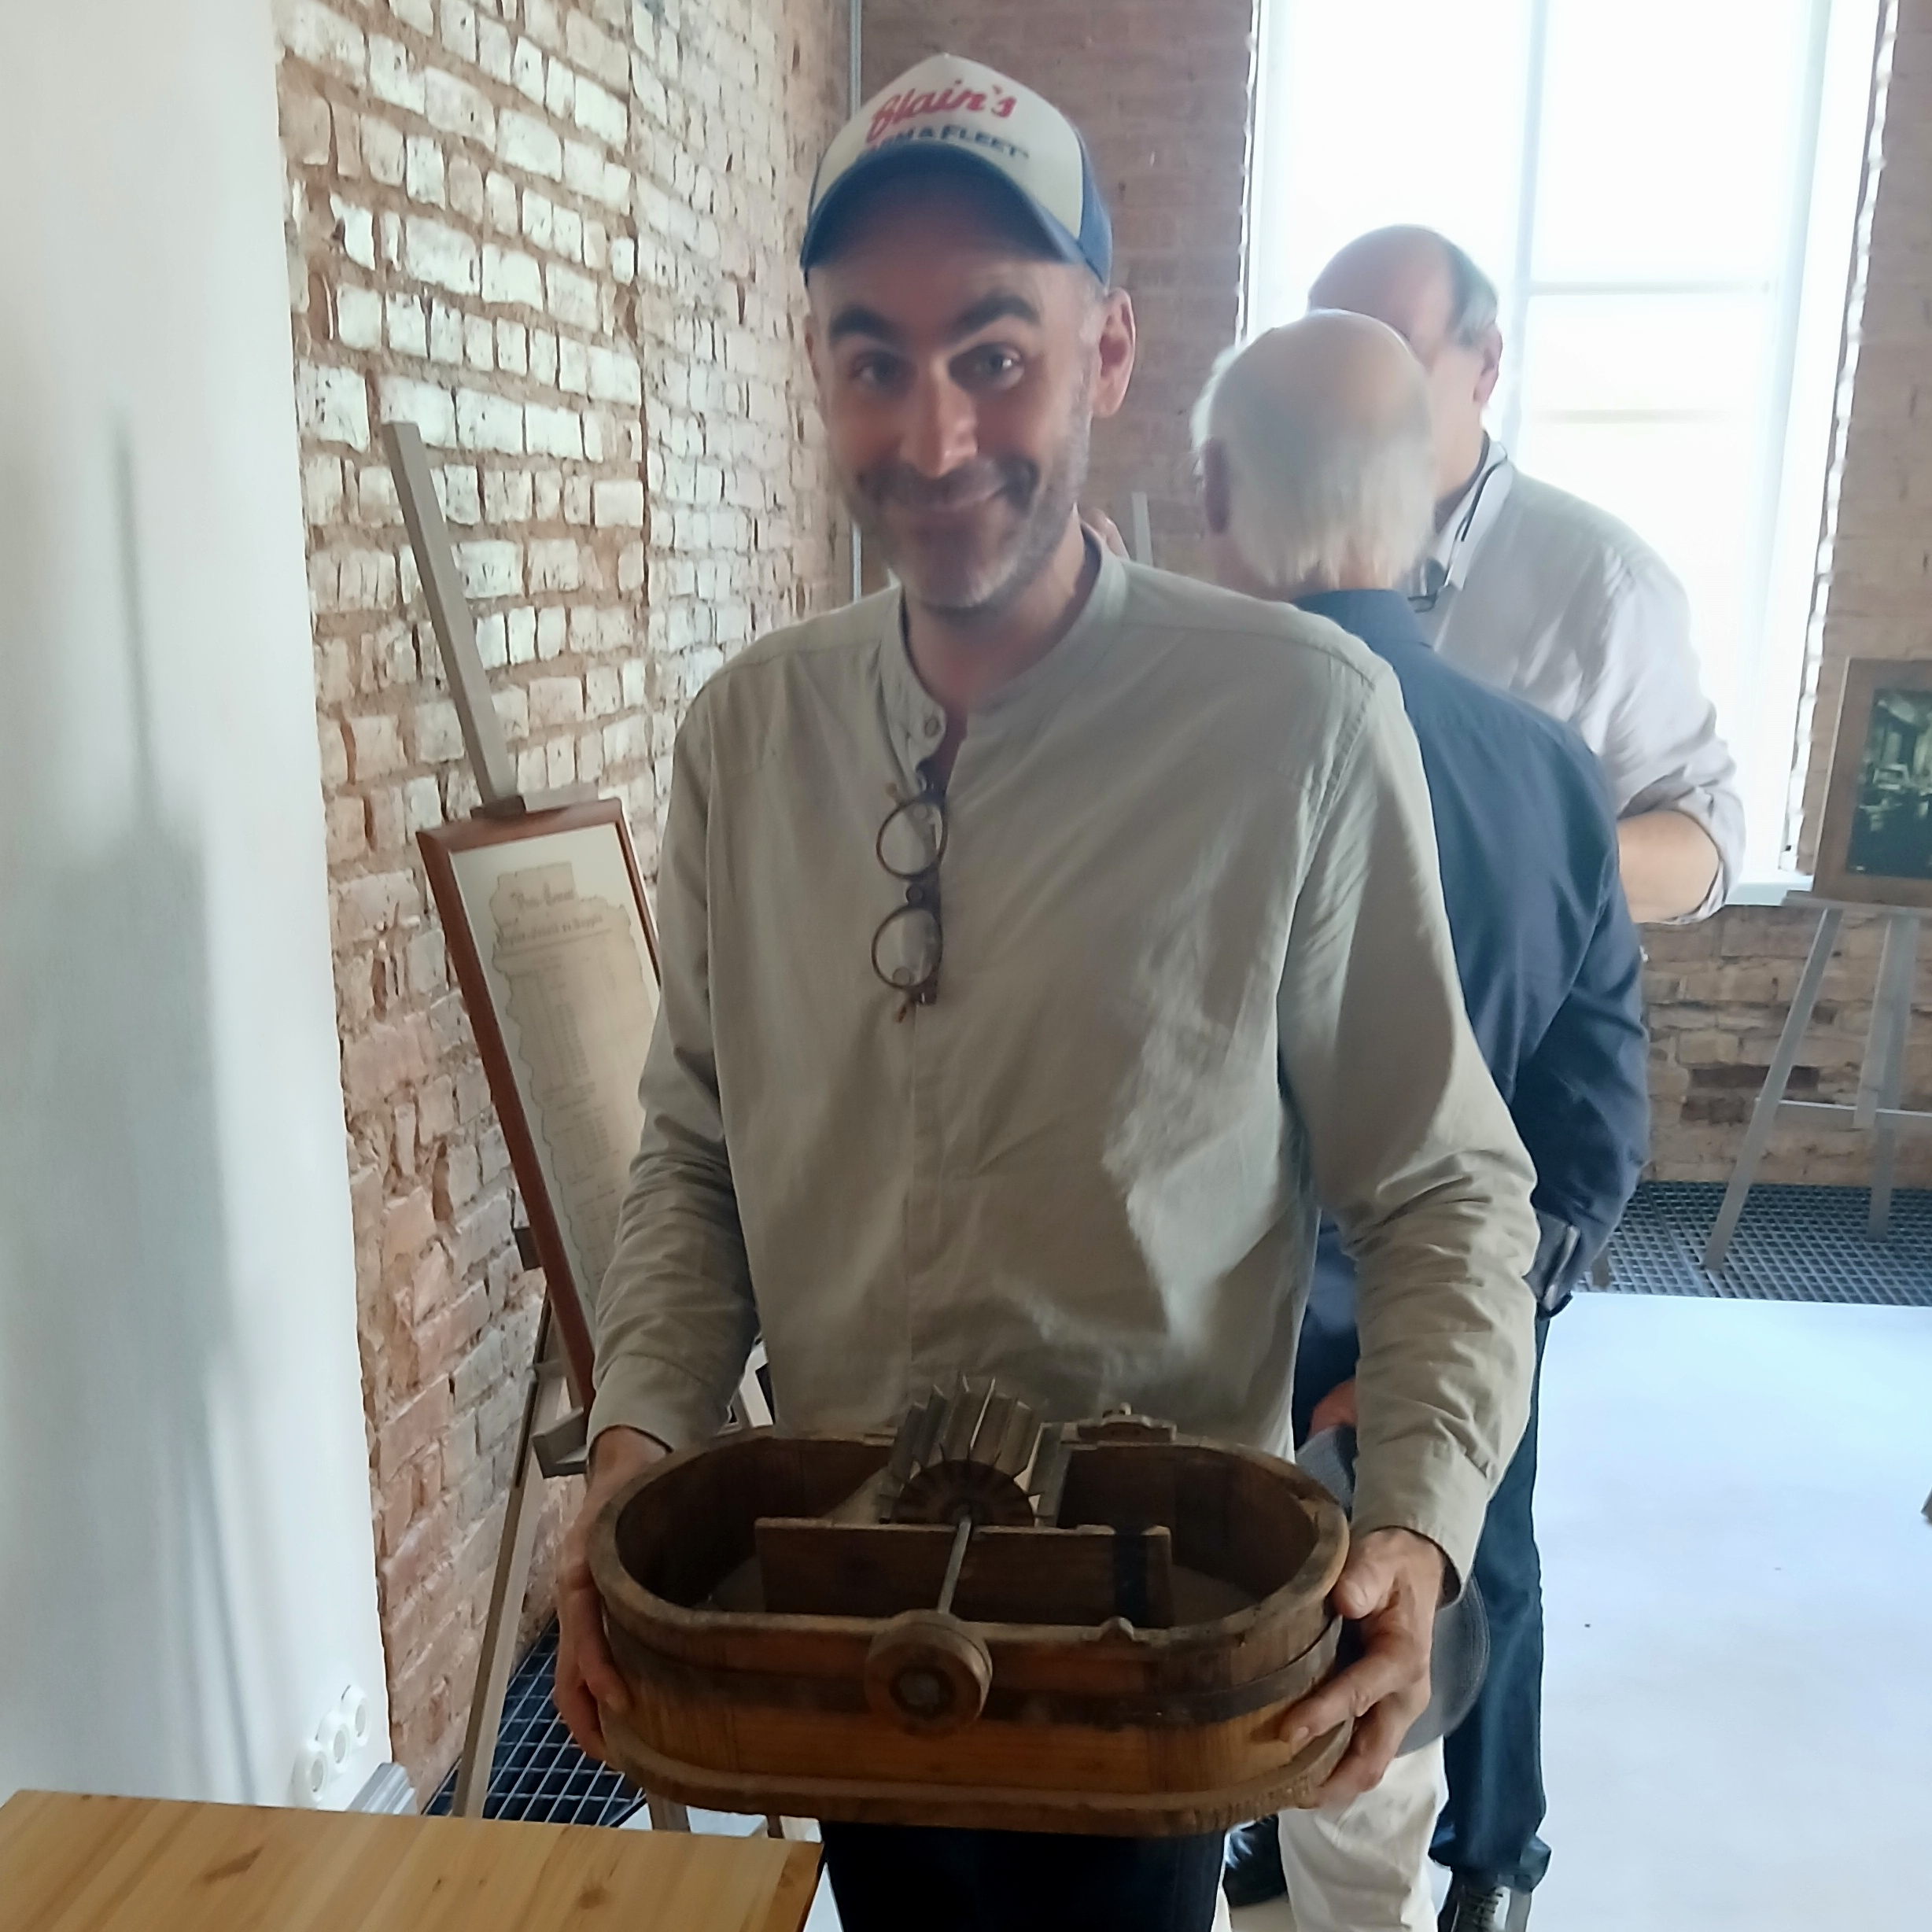
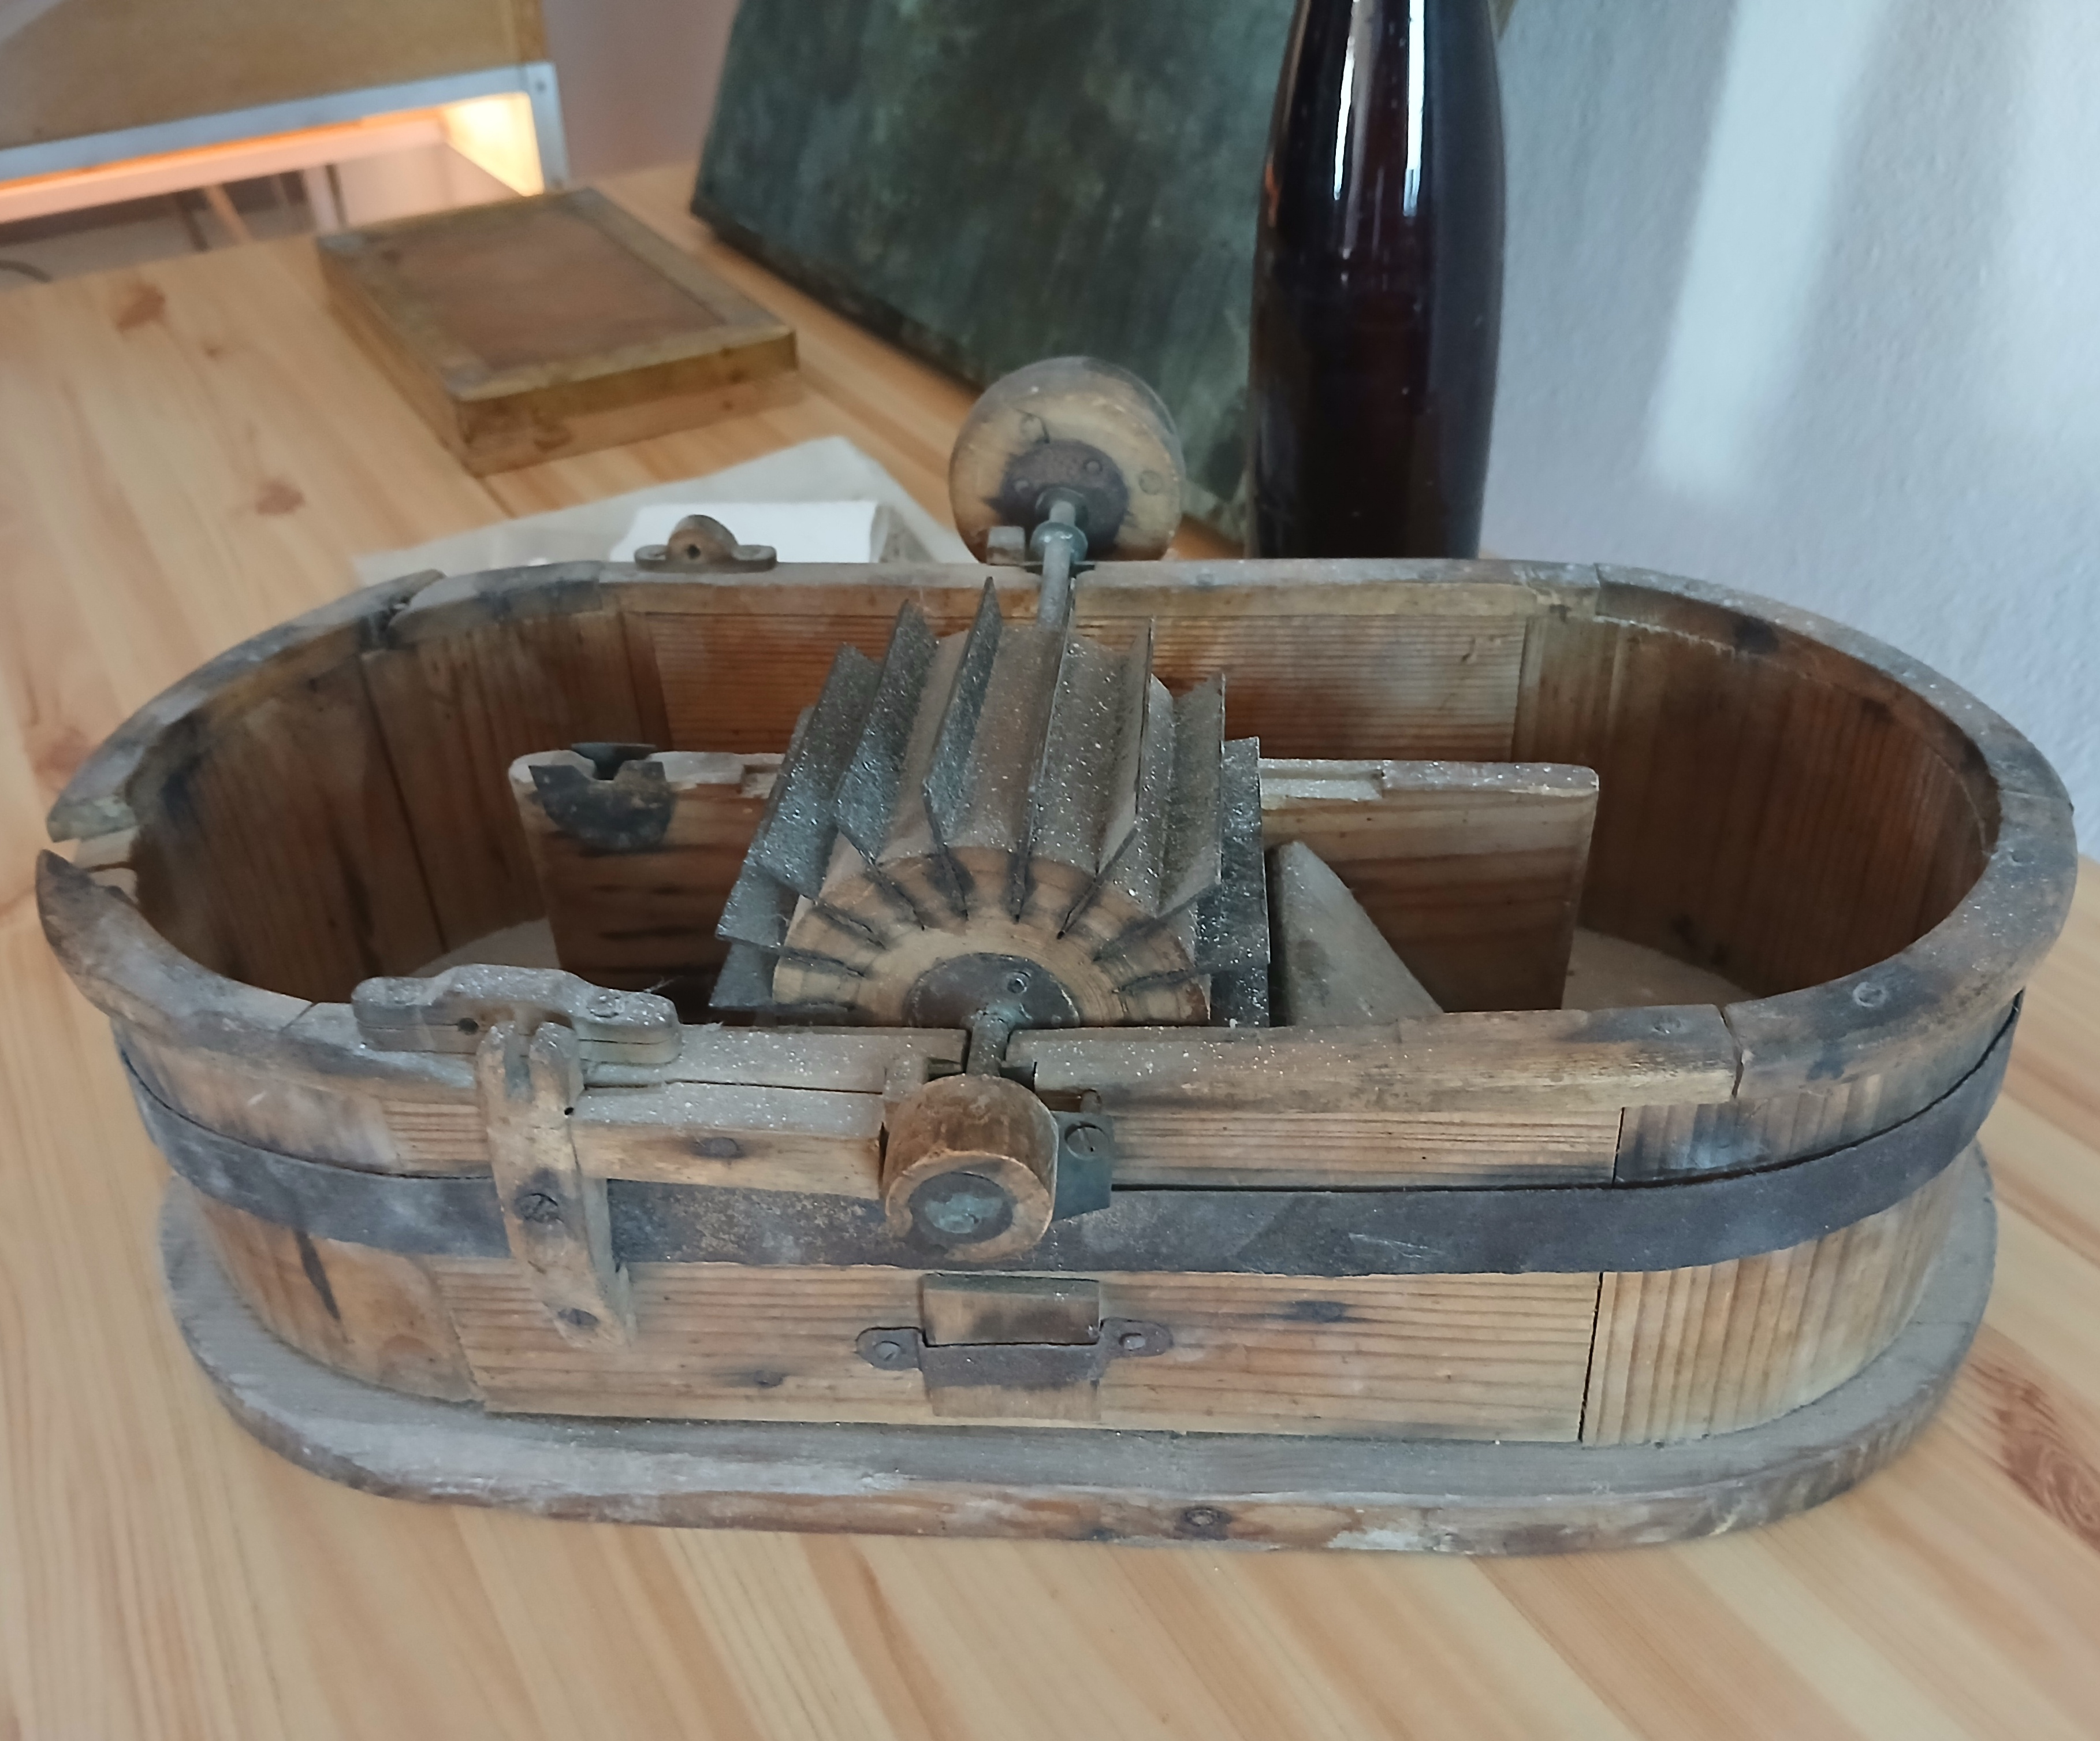
A very small Hollander from 1728, Rapina Papermill, Estonia.
A very small Hollander from 1728, Rapina Papermill, Estonia.
Research:
There is a long history of building Hollanders that goes all the way back to it's origins in the late 17th Century.
Old Man Internet, Mama Wikipedia, Uncle Google and Johnny AI are all good places to start your research; do a search for DIY Hollander Beater & Hollander Beater Plans. VG Paper has an excellent tutorial and some schematics.
It's good to look at as many images as you can, depicting the roll, bedplate, backfall and basin designs; however, it's worth its weight in gold to study Hollander designs in person.
Lee McDonald's Oracle is a great Hollander to study for a number of reasons; foremost is that his design allows you to completely open it to see the roll, bedplate, cover and backfall structure.
Link to a PDF of Lee McDonald's 1990 book showcasing many of the hollander beater designs in North America.
Washington State University student Elizabeth Sadewasser created a CAD file to help with the construction of the roll, bedplate, and backfall. Here is a link PDF.
Gathering materials from the community:
Once you have looked at some Hollanders and been able to wrap your brain around how it works, it's time to venture into the community to find and/or purchase materials and solicit help.
At the hardware store, you will find carriage bolts, lags, foam insulation, spray foam, plastic decking and plywood. Spend some time studying the aisles and thinking about how different products might be adapted to fit your design.
Lowes, Tractor Supply and a recycled building material center are great places to spend a few hours looking at the products and thinking about possibilities.
If you do not have any welding experience you will need to find a metal fabricator to help you build the roll and bedplate.
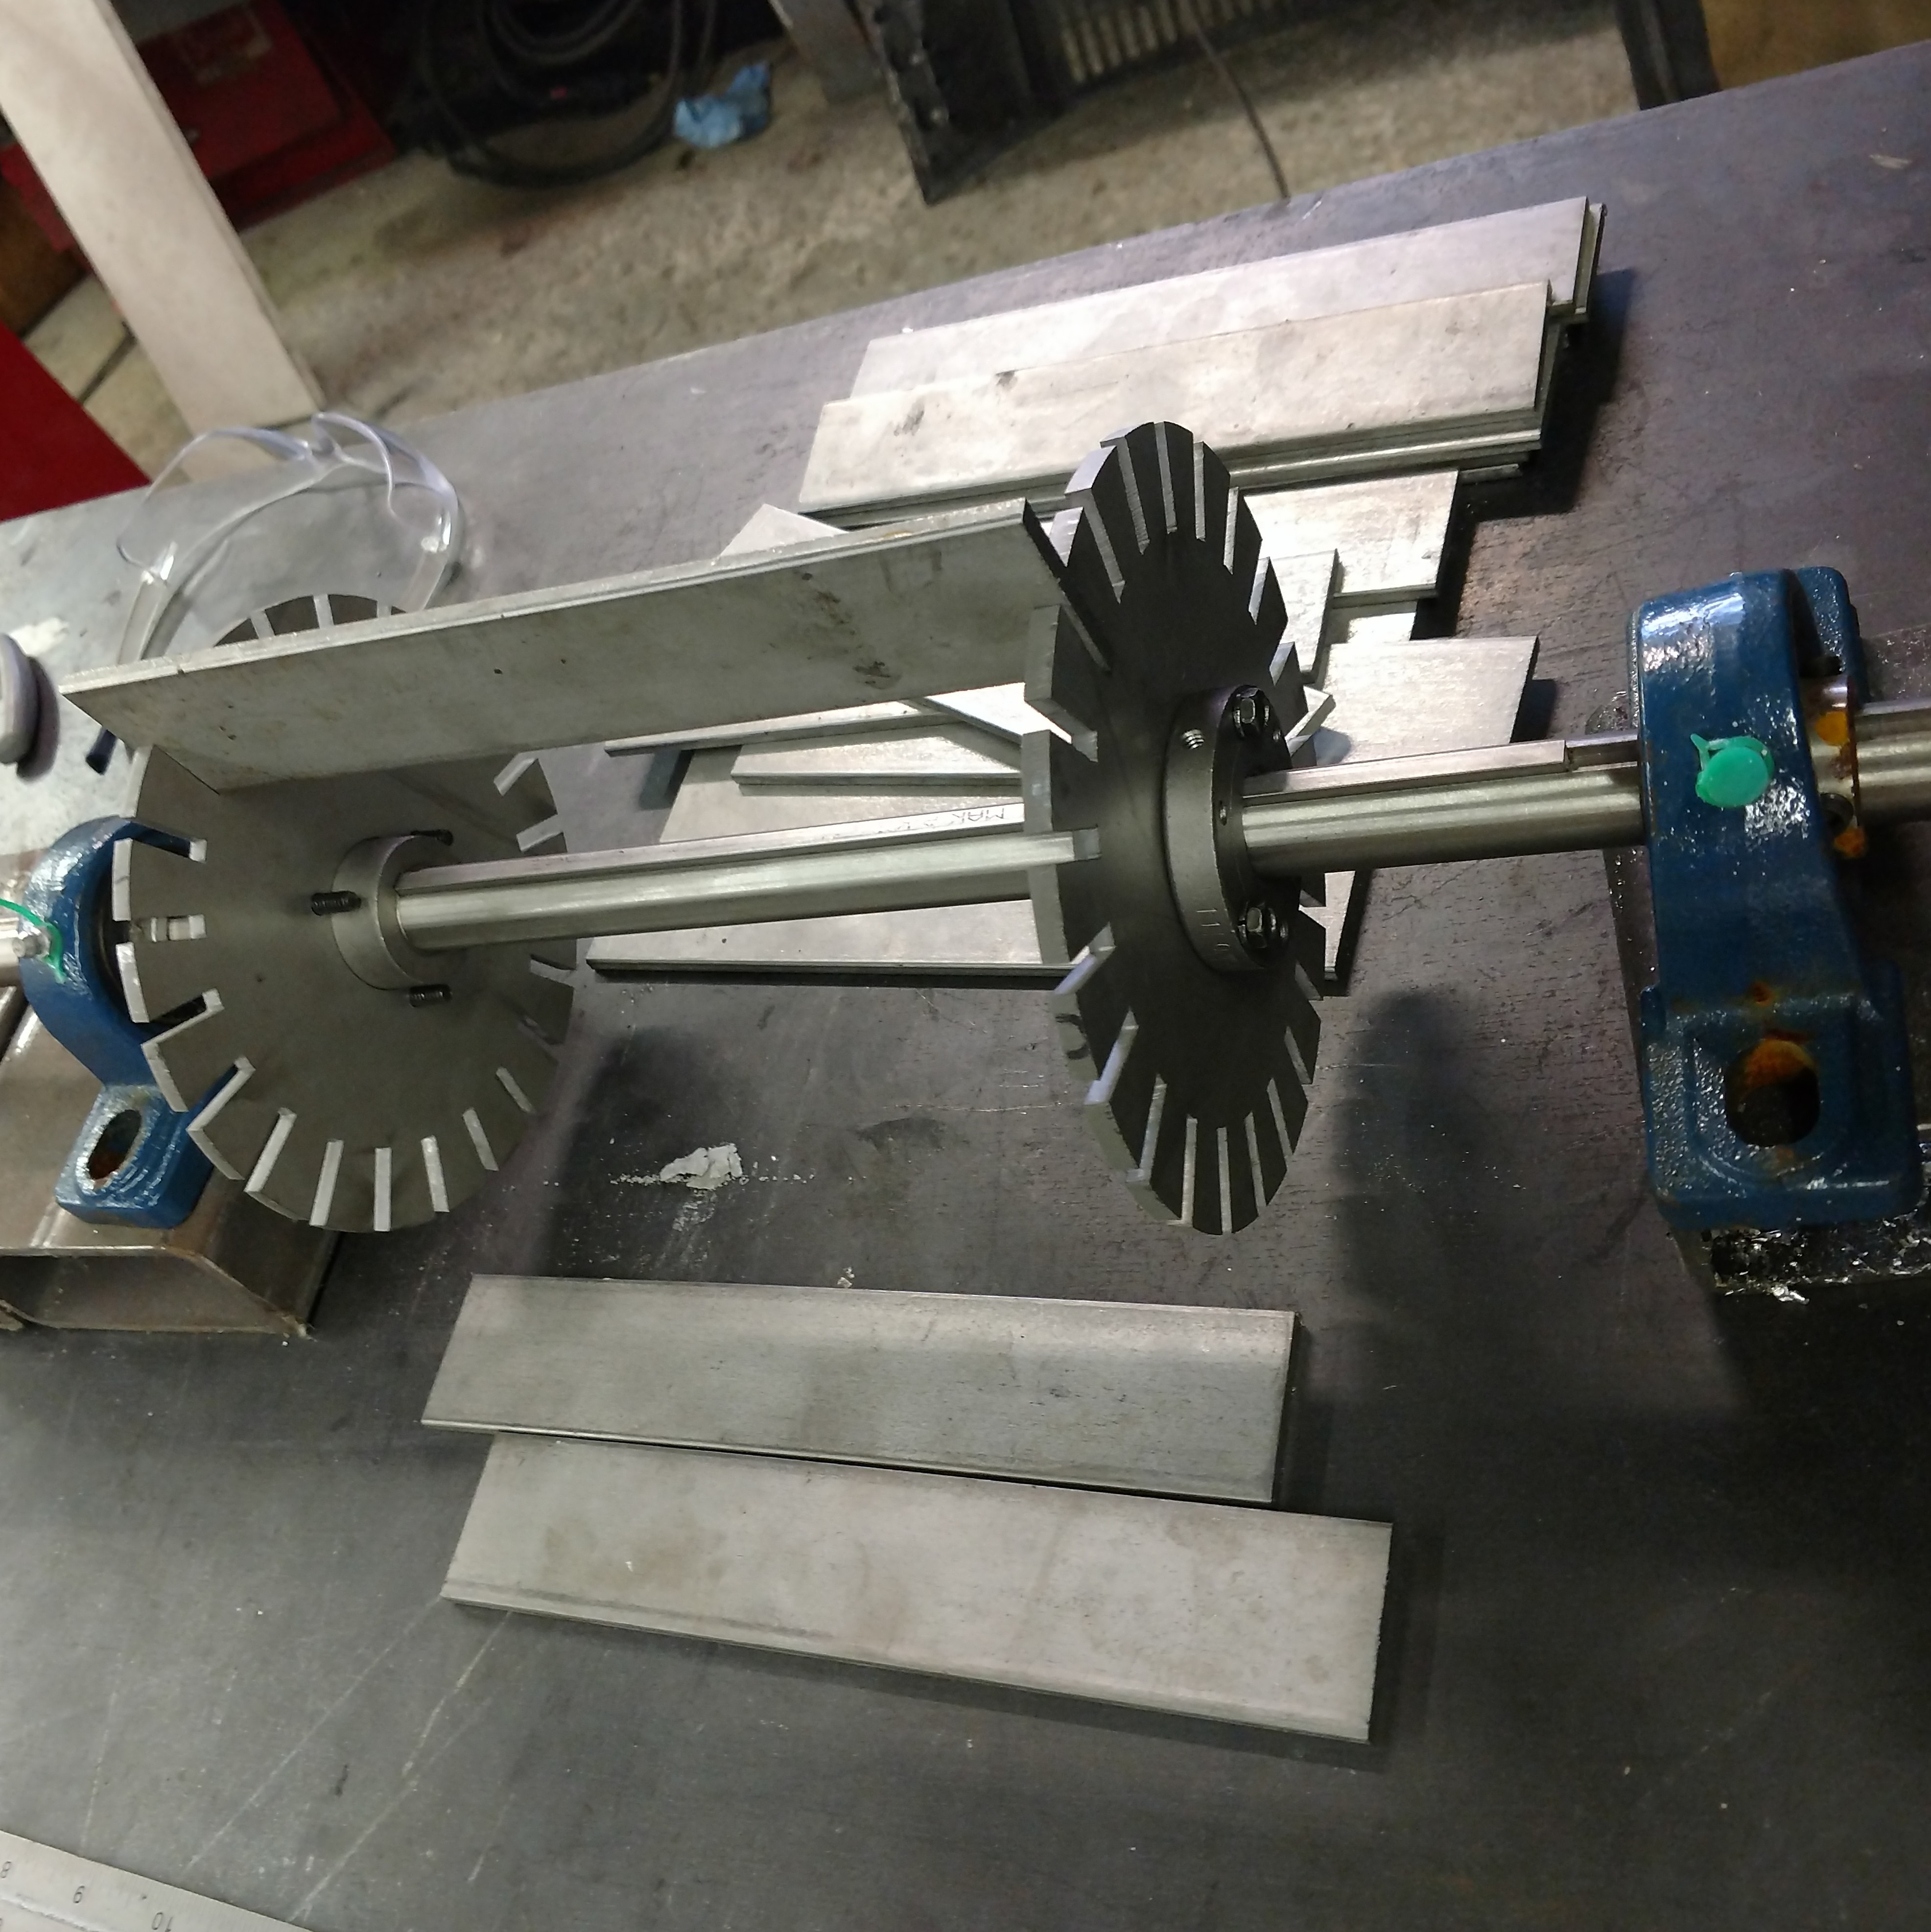
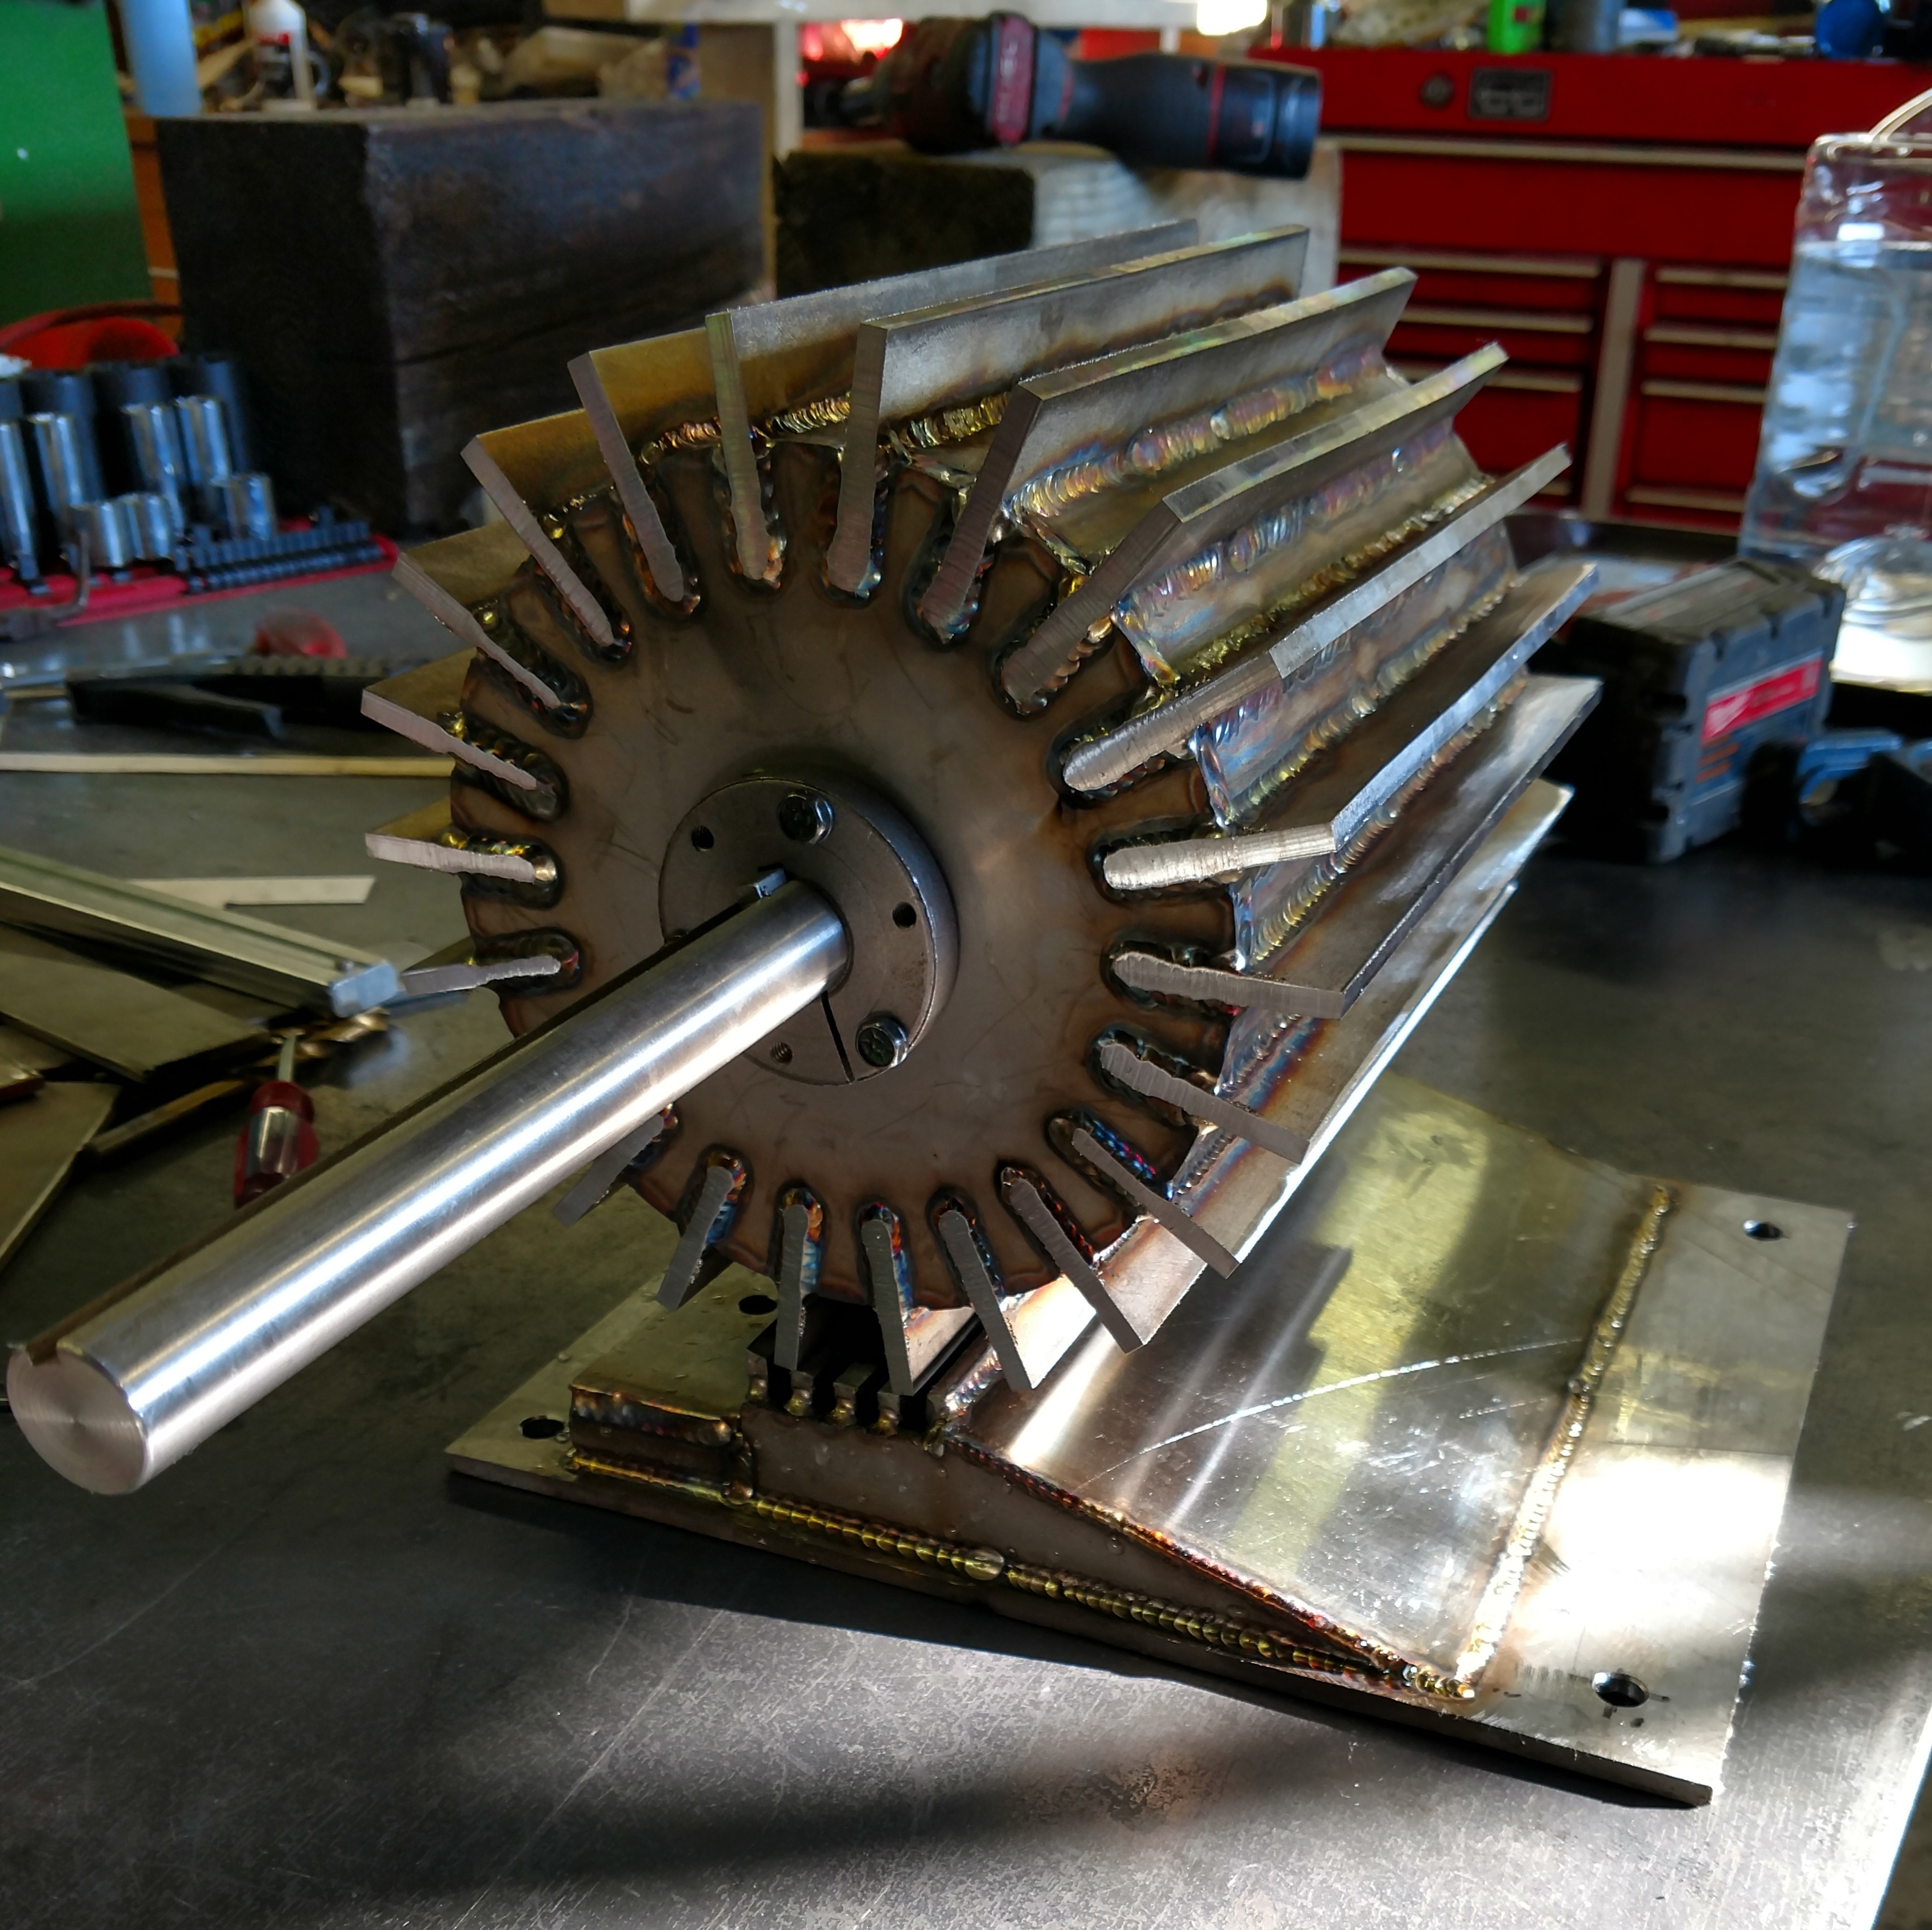
Assembling the roll for the Bathtub Hollander.
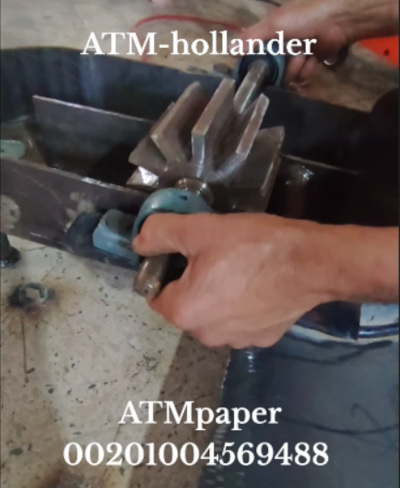
Cast Roll by ATM Paper
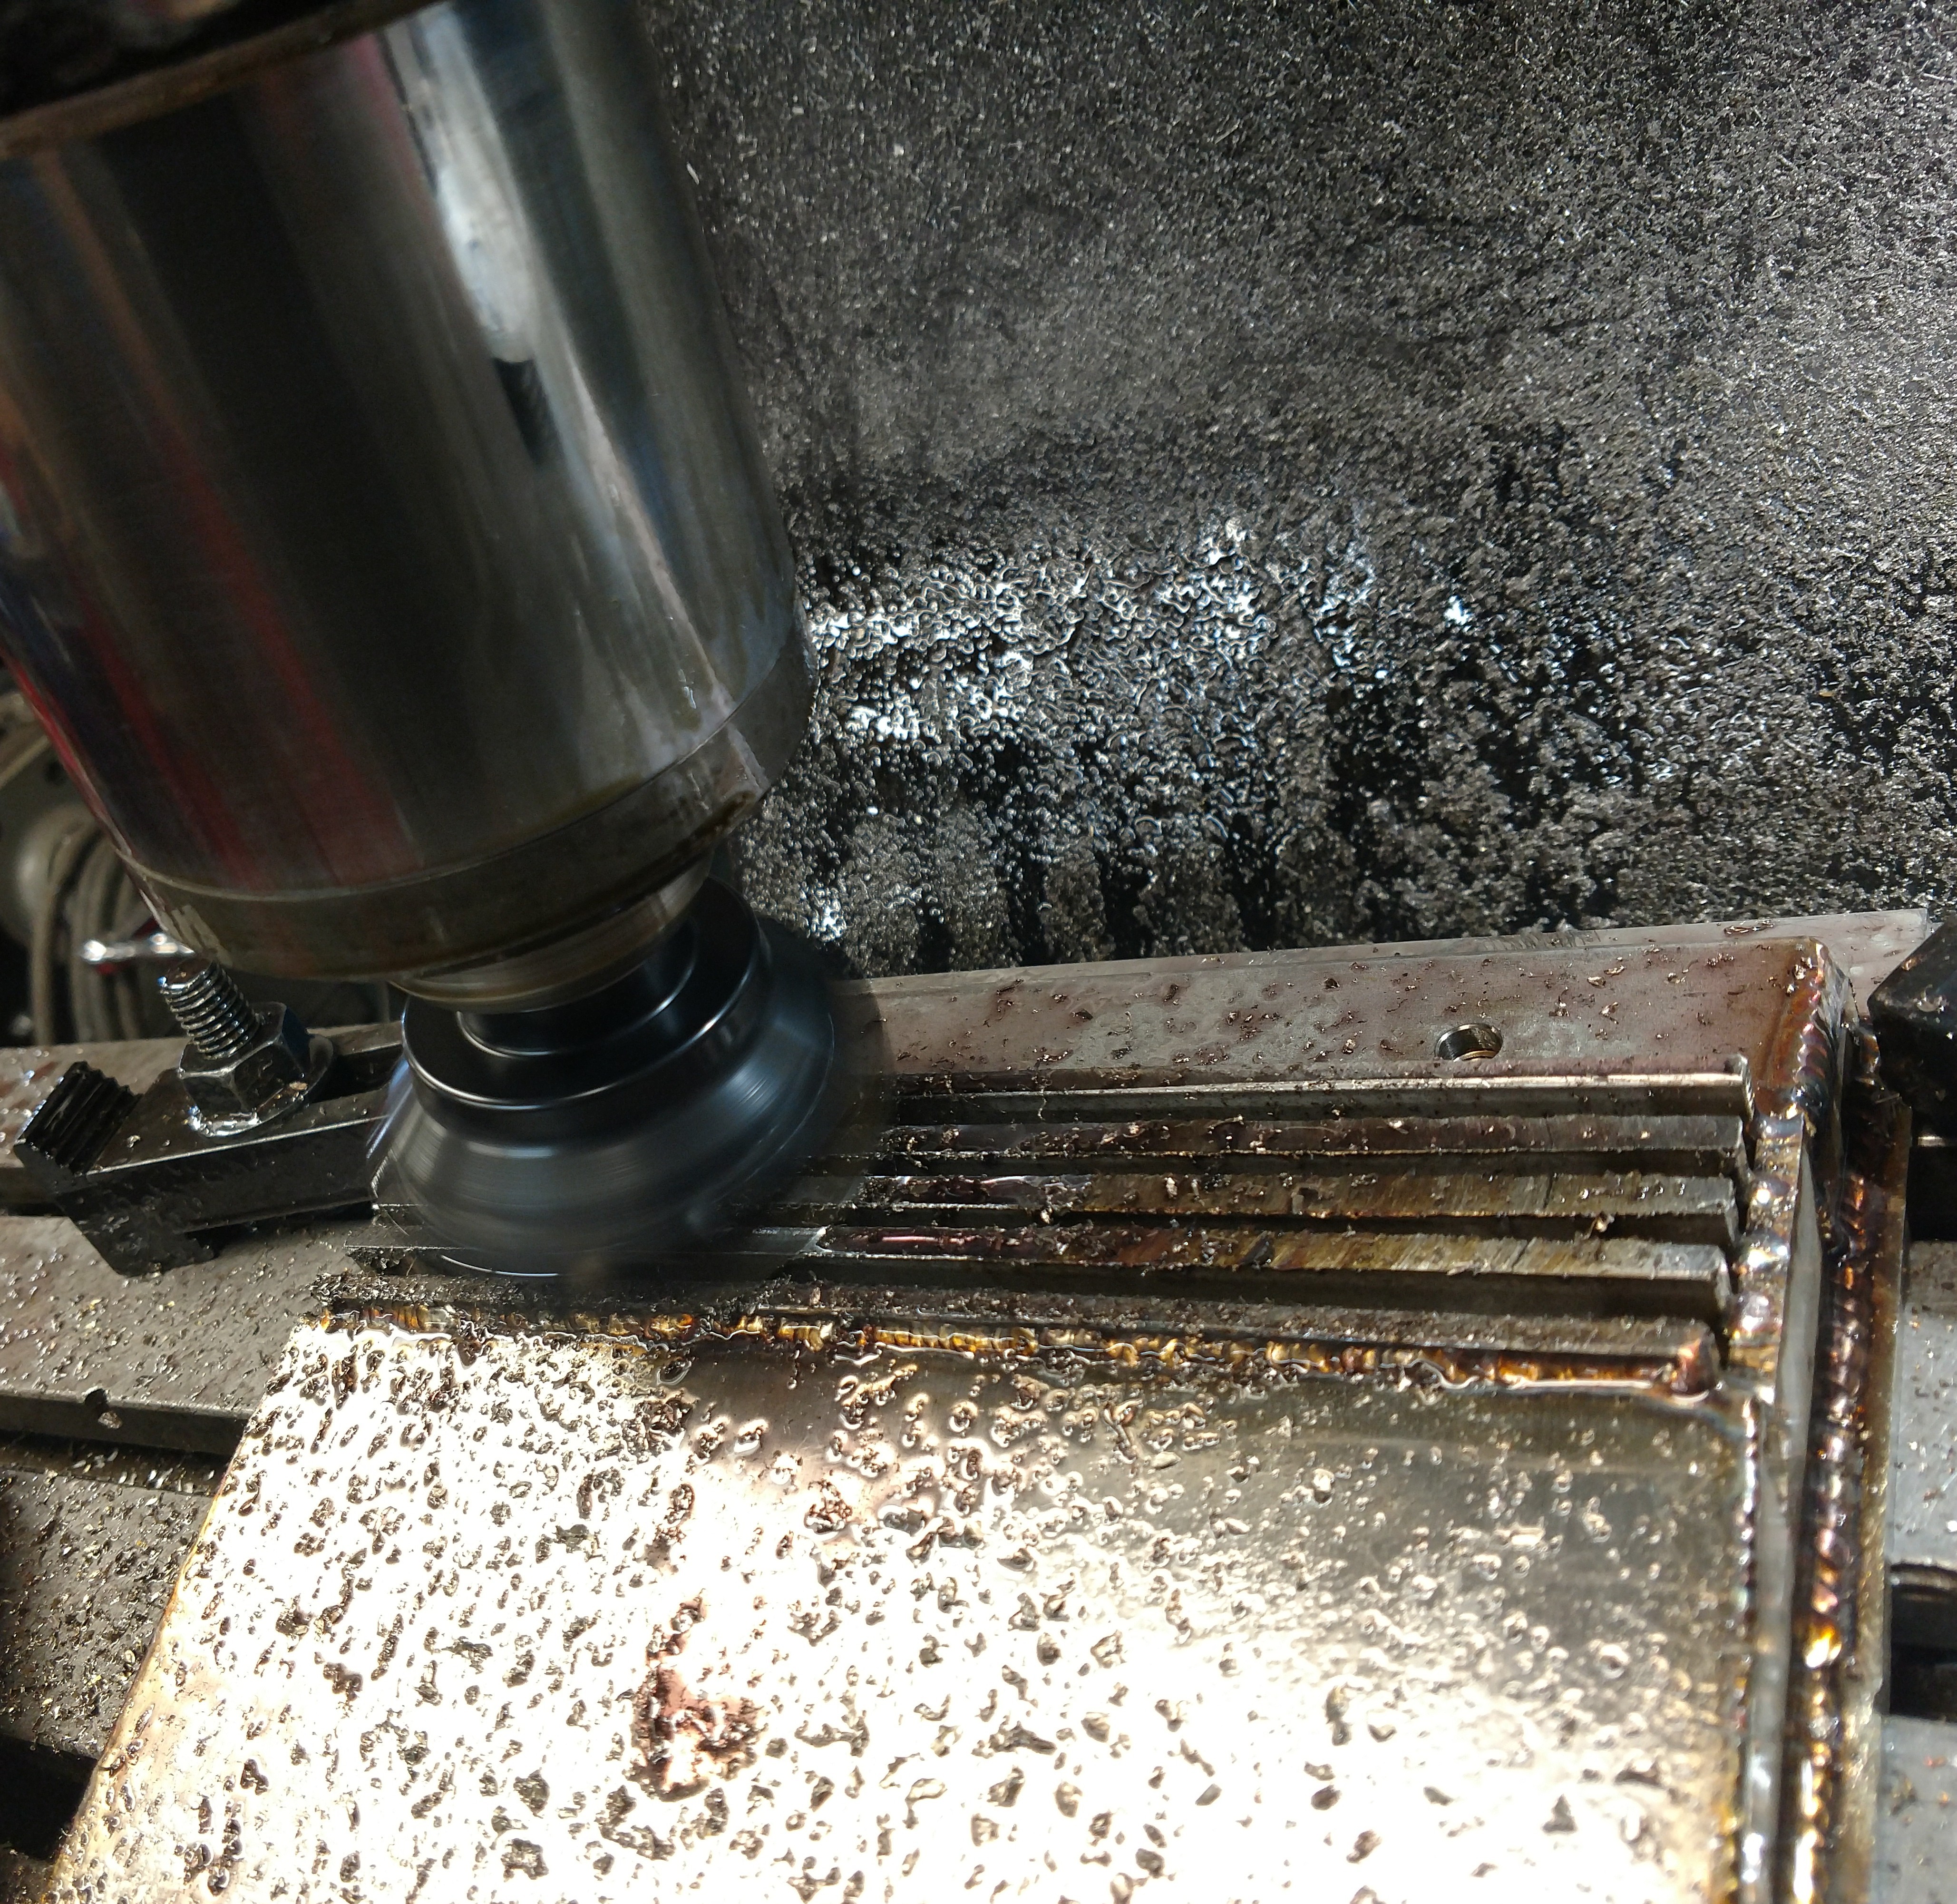
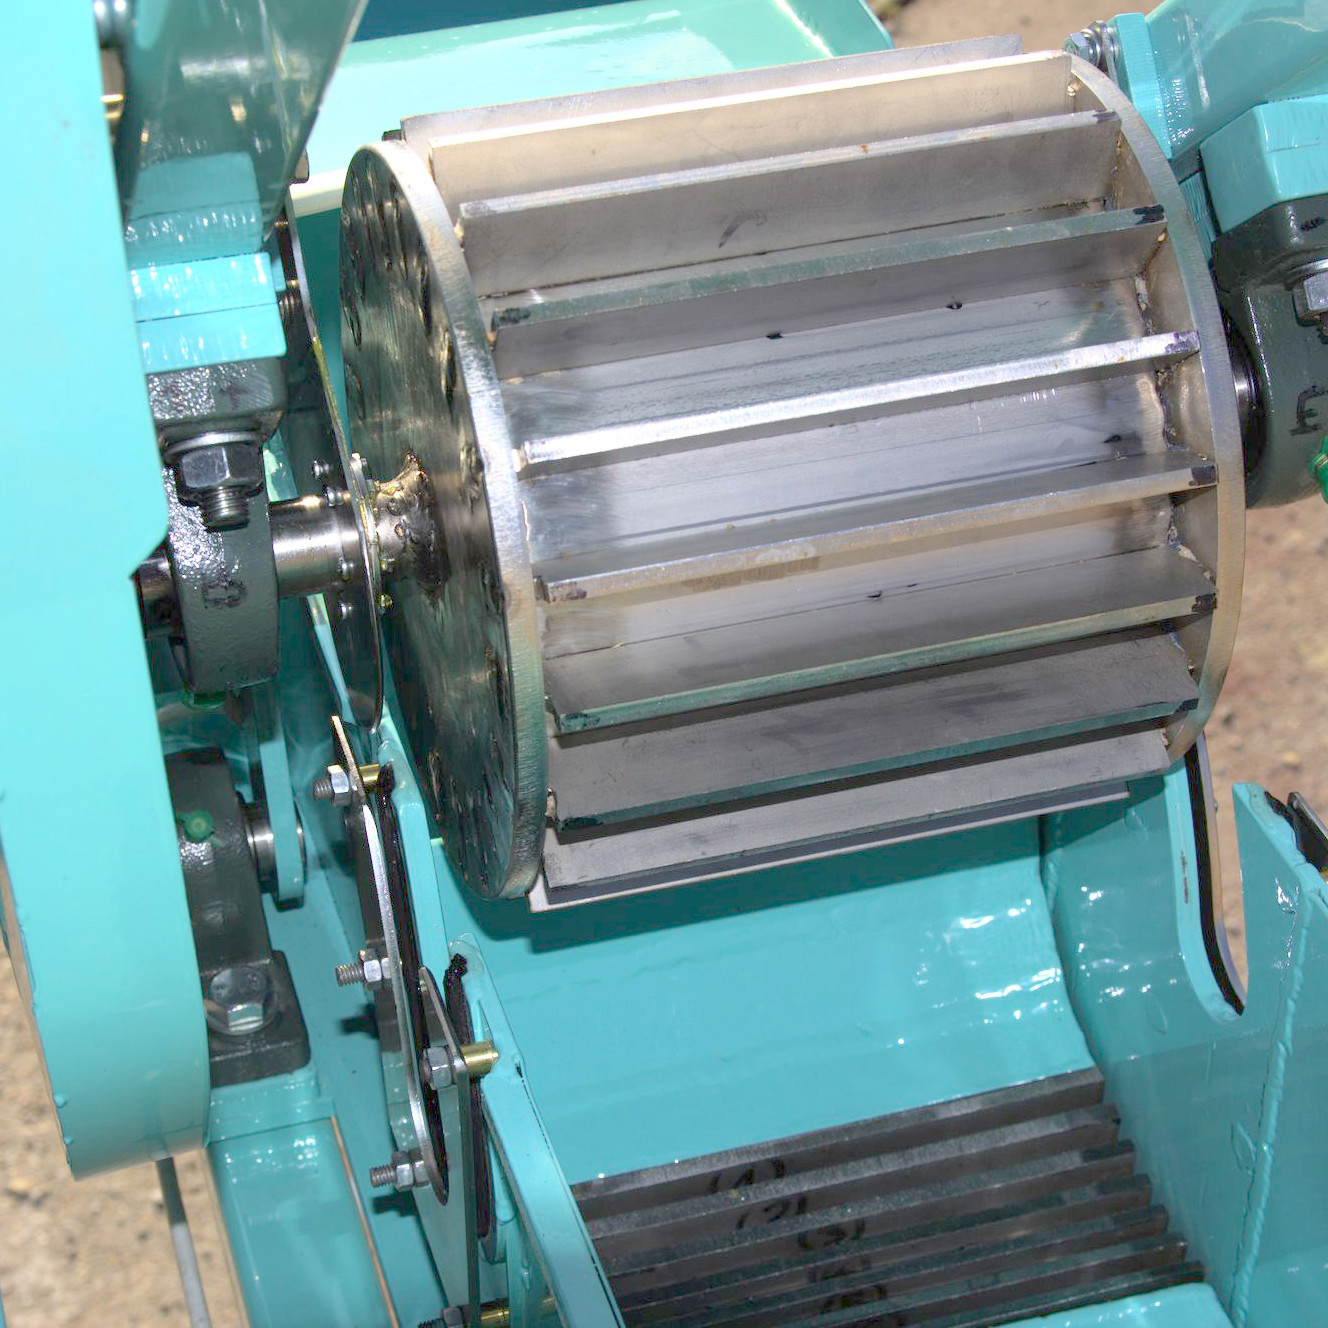
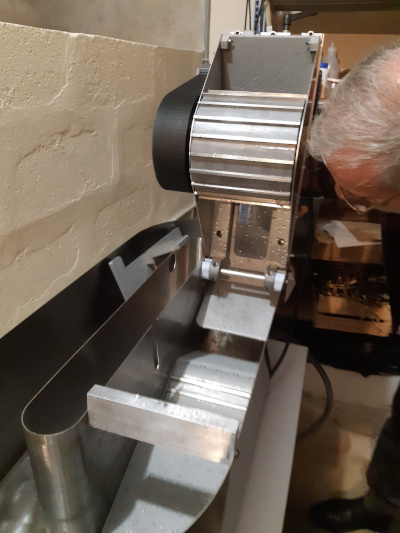
Roll & Bedplate Assembly:
The roll and bedplate will need to be made from #304 stainless steel.
There are several ways to construct the roll:
1) you could weld the flybars (stainless steel blades) onto a steel cylinder;
2) you could screw mount the flybars to the roll;
3) you could turn & carve out from a block of steel using a metal lathe;
4) you could cut the sides of the roll from steel and then weld the fly bars into place
5) or you could cast a roll using bronze, concrete or a hard polymere.
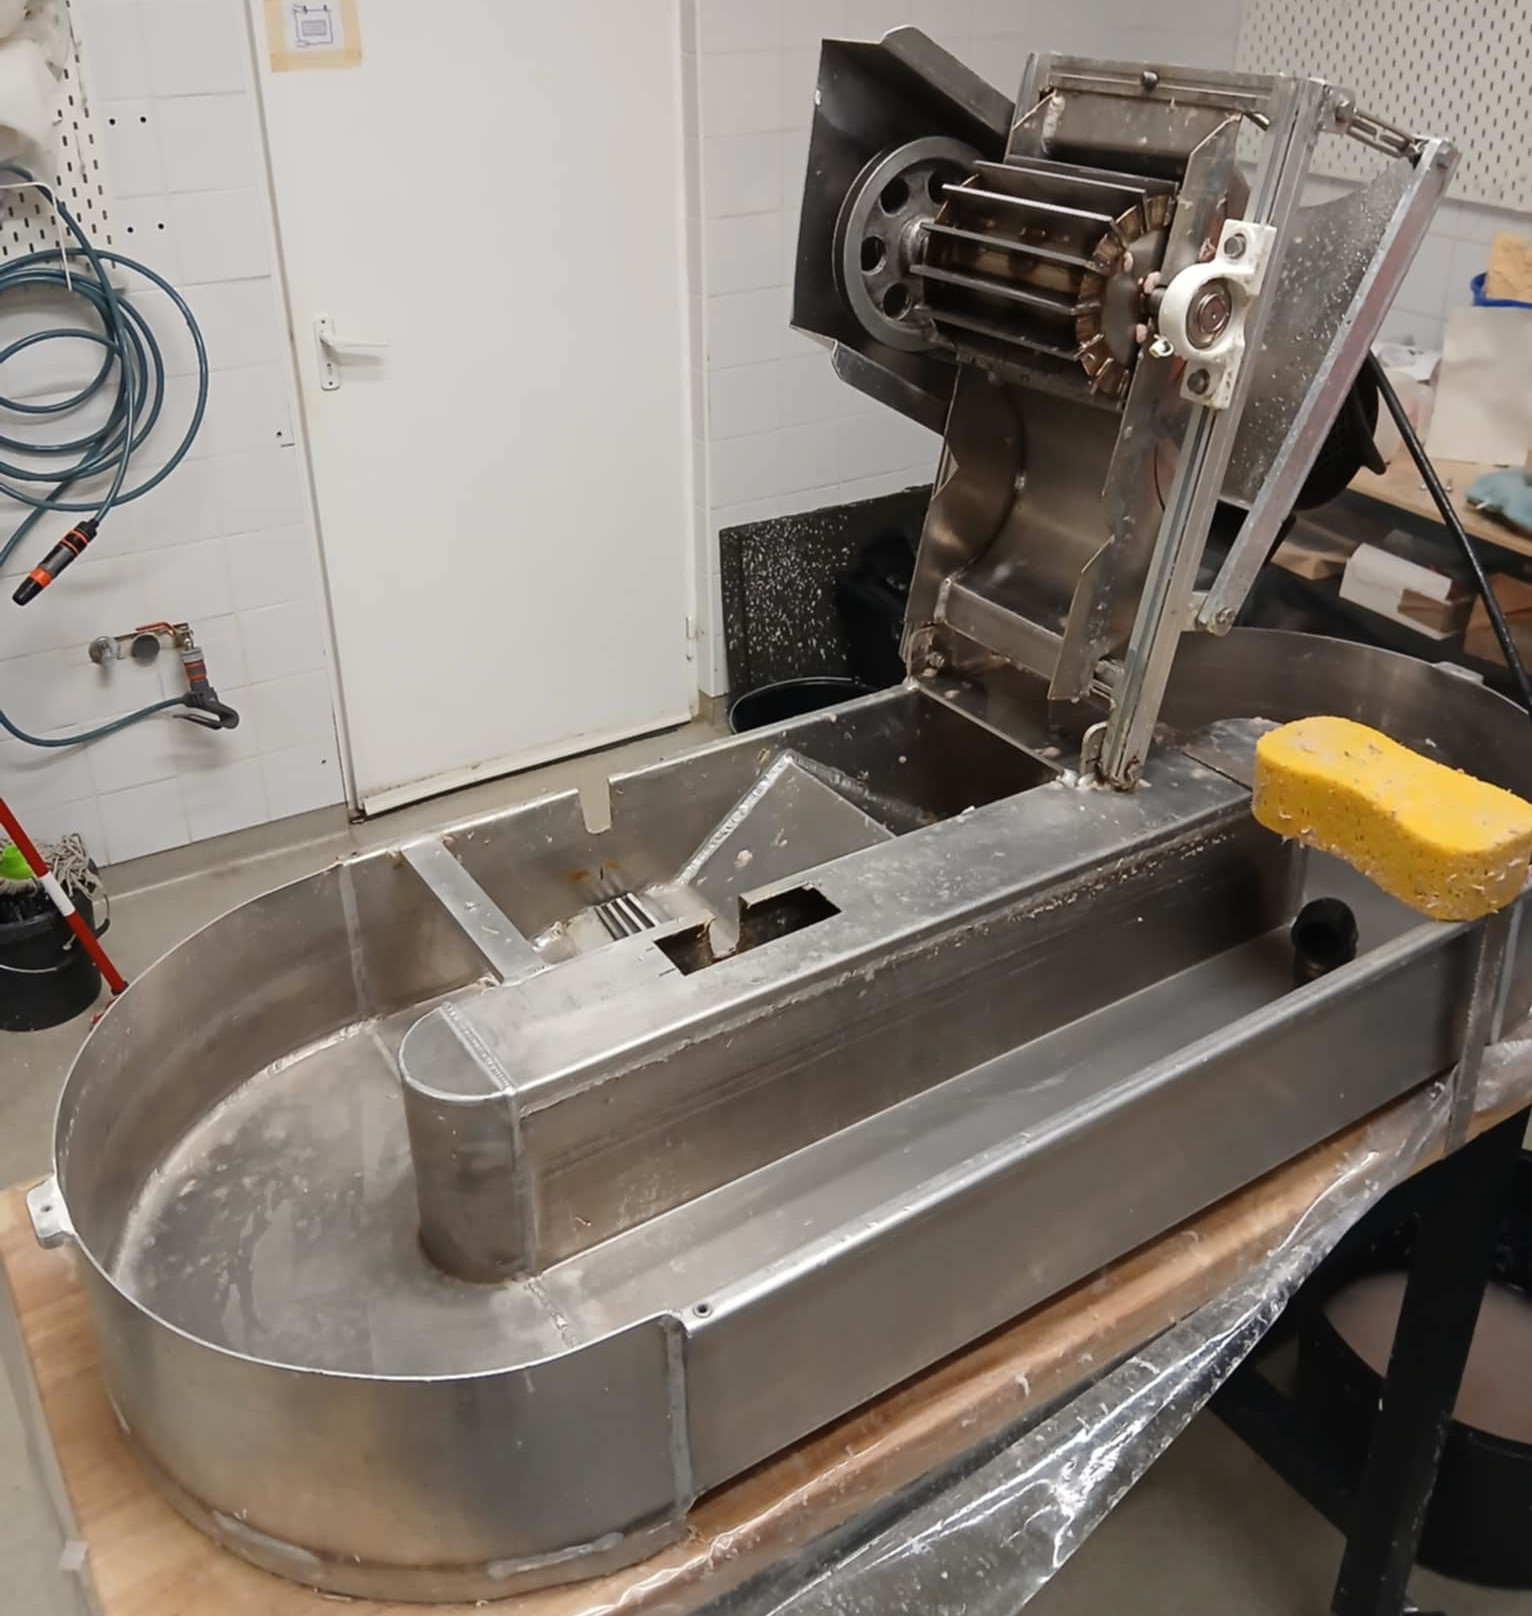
Basin, Midfeather and Backfall:
The basin needs to be constructed out of something that is waterproof or made watertight. Plywood is probably the easiest to cut and assemble; be sure to seal it with a sturdy epoxy like POR 15.
The trick with designing your basin, midfeather, and backfall is to follow the proportions of your roll; if you have a 12 x 8-inch roll, then the basin, backfall, and midfeather are going to be different than a 4 x 6 inch roll.
Reference the designs you have observed in your research.
The backfall is the triangular ramp that sits in front of the bedplate, the backfall slows the circulation, tossing some material back through the roll & bedplate for additional pulping.
The midfeather is the barrier located in the center of the basin. The contours on the midfeather design can help the Hollander with its circulation.
Fixed vs. Adjustable (Roll & Bedplate):
In order to control the evenness and fineness of the beating, it is important to be able to adjust the distance between the roll and the bedplate.
When rag is first added to the Hollander, the roll and bedplate are farther apart and as the material is broken down, the roll and bedplate are forced closer together.
Building the midfeather & basin for the Bathtub Hollander
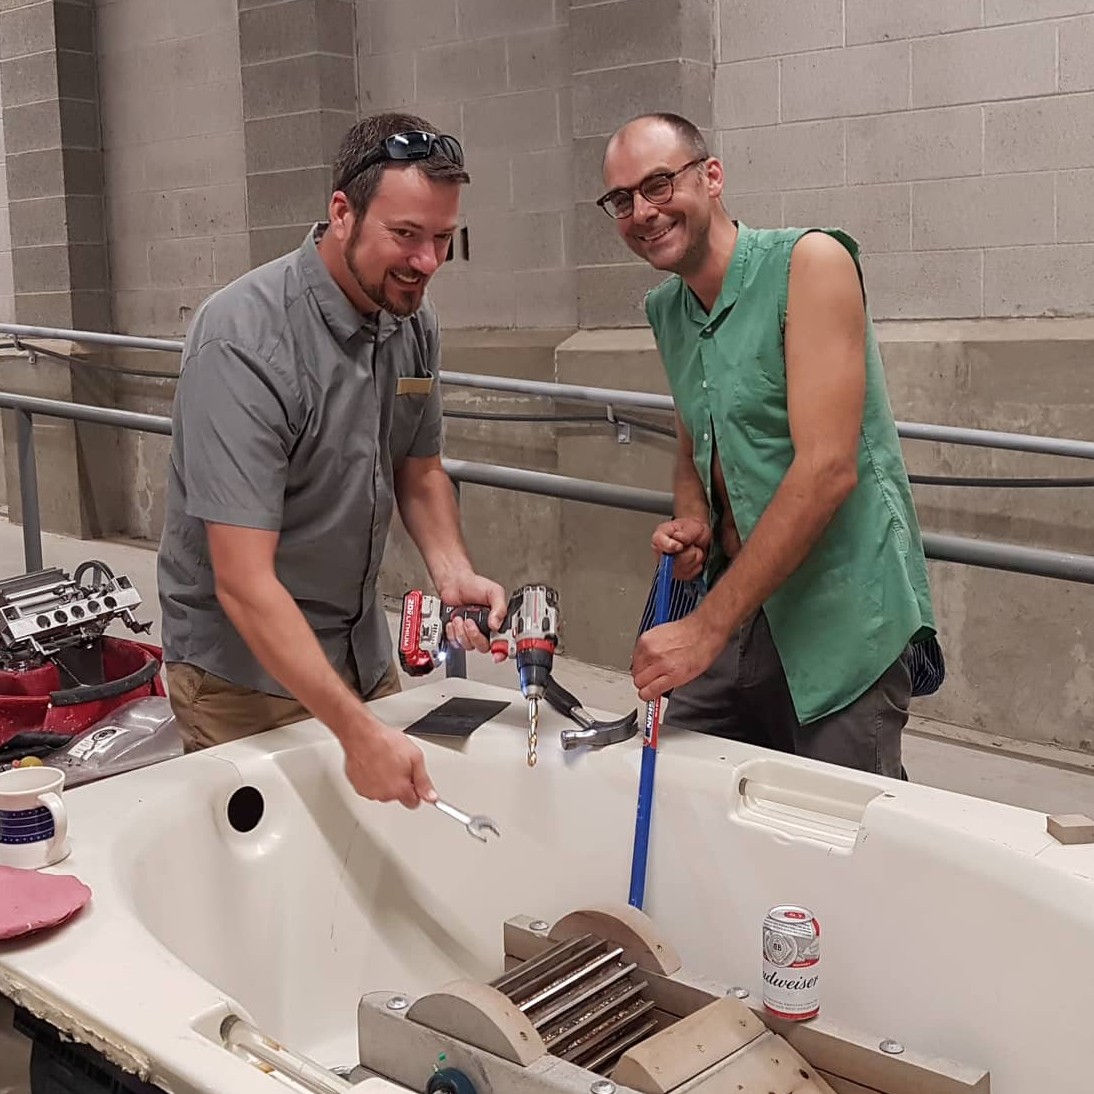
Bedplate & roll assembly for the Bathtub Hollander.
There are two methods for controlling the distance between the roll and bedplate; fixed roll with adjustable bedplate; and fixed bedplate with an adjustable roll.
The fixed roll with an adjustable bedplate can be found in the Voith/Valley-style Laboratory Beaters. This is a rather simple solution to controlling the distance of the bedplate and is very effective.
Essentially the pillow boxes (bearing housing) for the roll are fixed in place. The bedplate is attached to a pivoted assembly arm and counterweight stem that pushes the bedplate up and into contact with the roll.
The intensity of the contact with the roll is controlled by the amount of weight on the end of the assembly arm; pressure is put on the stem weight. A bucket can be filled with bricks, water or stones; starting with a few and adding more as the material breaks down.
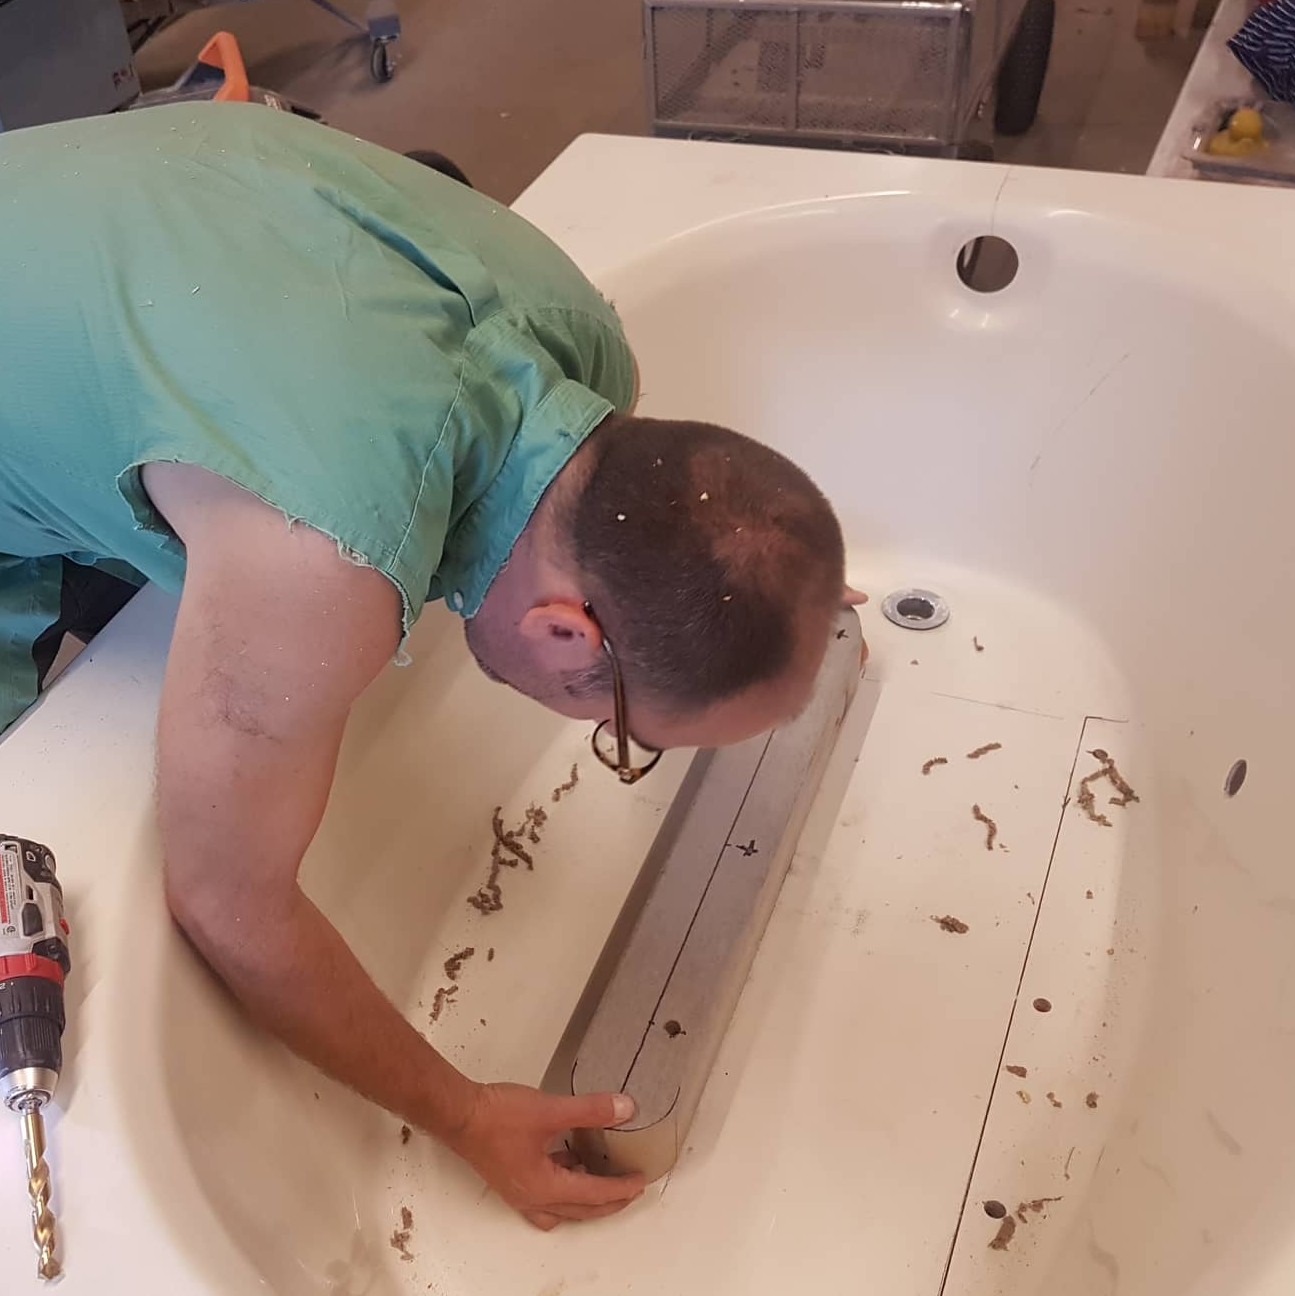
In order to assemble a movable bedplate, a hole must be cut in the basin, directly below the roll. The hole should be slightly larger than the bed plate itself, should be securely fastened to the assembly arm at a right angle and will have to be sealed using a rubber tubing and a gasket.
To study this further, crawl under a Voith/Valley/Lab Machine to get a closer look at how an adjustable bedplate can be installed.
One of the advantages of this approach is that it is very easy to mount the motor underneath, keeping it out of the way of the user.
The fixed bedplate and adjustable roll is seemingly more common and can be done in a few ways.
As with Lee McDonald's model, the pillow boxes for the roll are fastened to a frame that raises and lowers with a threaded bolt.
The distance of the roll to the bedplate is determined by the height of the threaded bolt and the weight of the motor (~30lbs) determines the pressure.
This is a tried and true method, while its a bit more complicated, having the motor on top of the machine allows for it to sit on any flat surface, making it more portable and adaptable. In contrast with having the motor below, which requires a stand.
Another method for moving the roll is to control the height of the pillow box by raising and lowering it with threaded bolts, something akin to controlling the rolls pressure on an etching press. To study this approach look to David Reina's design.
Yet another approach to the fixed bedplate is to create a roll that is fixed, but flexible. This method would not be able to finish rag pulp, however, it could easily rehydrate shredded paper material and would make quick work of most cooked raw fibers.
For this method the tolerance of the roll and bedplate are set to be as close as possible without touching, while remaining flexible. To accomplish this, put a stiff piece of rubber or polyurethane beneath the pillow box. This enables larger chunks to pass between the roll, while self-adjusting back to a zero position. In addition, heavy springs can be mounted on the screw mounts above the pillow box, the tension of the bolts should be set the same using a torque wrench.
Pulping two kilograms of cotton rag half-stuff in our DIY Hollander... (2019)
The most thorough walk-through of how to make a Hollander by The Quixotry Workshop (2022).
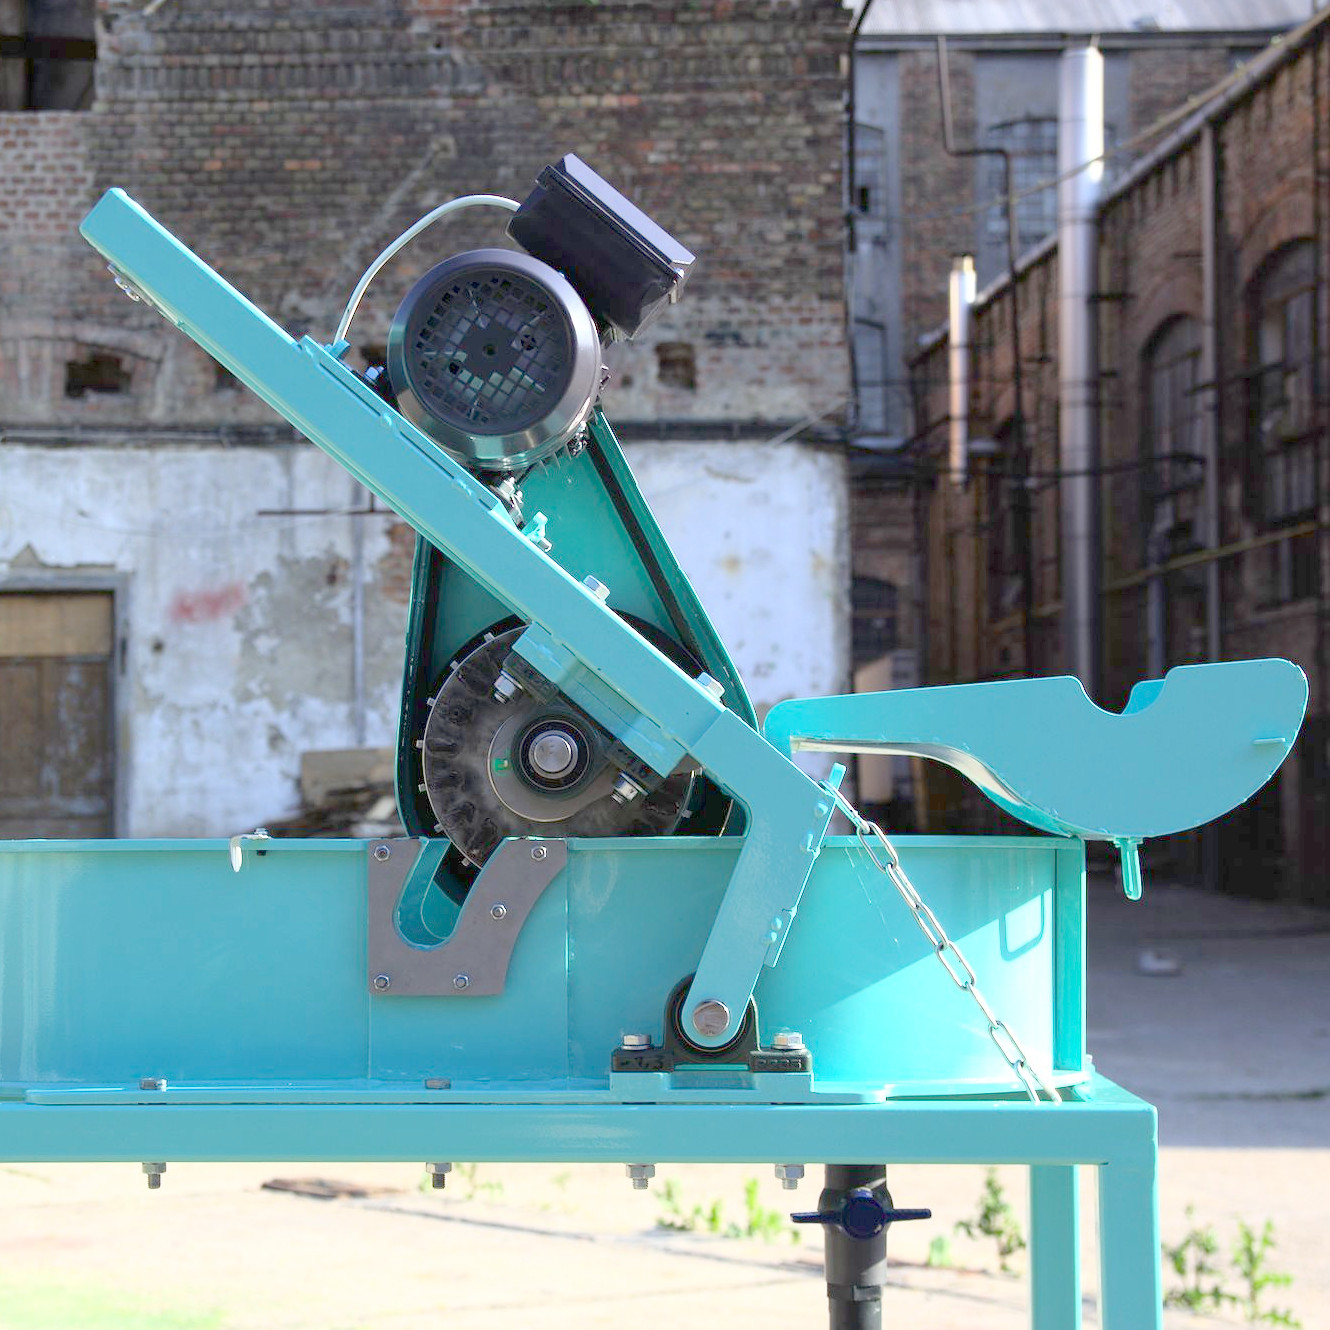
Pictured here is a hollander that Marton Bene and Ferenc Kozma for
Greenwerk Paper Studio (2022).
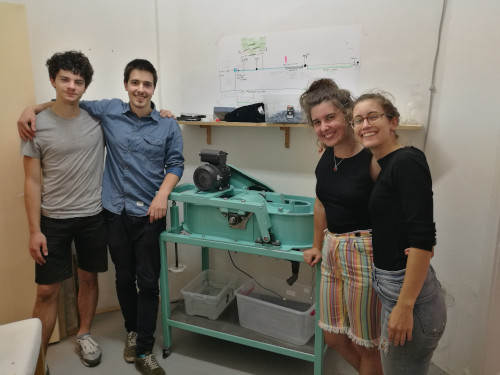
Ferenc, Marton, Csenge and Lili from Greenwerk Paper Studio posing with their finished hollander...
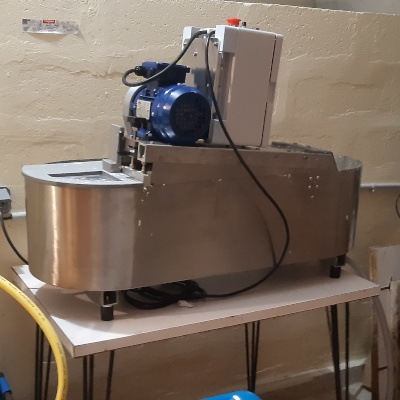
Pictured here is a hollander built for Lise Morisseau in Maleshebes, France (2025).
Hollander made by Dariusz Subocz for Care Card in Budapest, Hungary. It pulps 400 grams of cotton rag in 50 minutes (2023).